Veeam recently released an add-on product named Veeam Cloud Backup to their existing Backup & Replication software.
I will put together some posts on how to easily get started with Veeam Cloud Backup and send your backups into the cloud 🙂
The concept of Cloud Backup is primarily to provide an alternative to tape backup by providing easy offsite backup.
Important to understand however is you still need to perform on-site backup first and then Cloud Backup can copy the backup to the cloud.
Think of this as a replacement for performing a tape backup and then driving to the bank to put the tape in a vault.
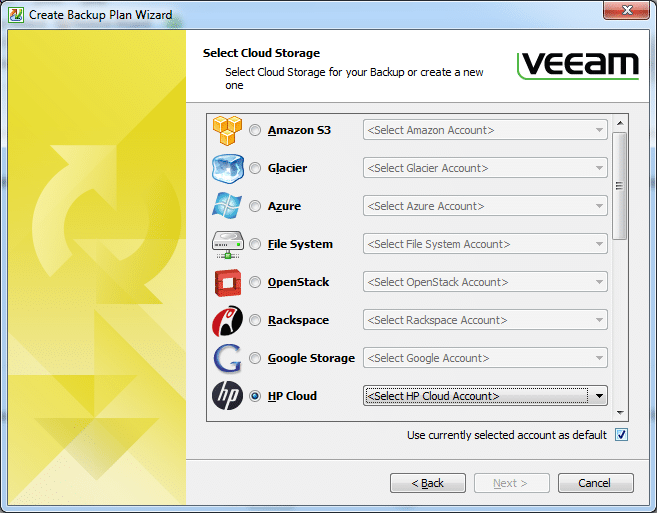
Out of the box Cloud Backup works with 15 providers. I am sure most of my readers have heard of Amazon S3, Amazon Glacier, Windows Azure, HP Cloud and OpenStack.
Noteworthy alternatives on the list are the ability to copy the backup to a file share/UNC path. Now you might think I could easily do that with RoboCopy but what about fx reporting? You need a whole solution if you are going to base your disaster recovery on this.
Lets jump straight into it!
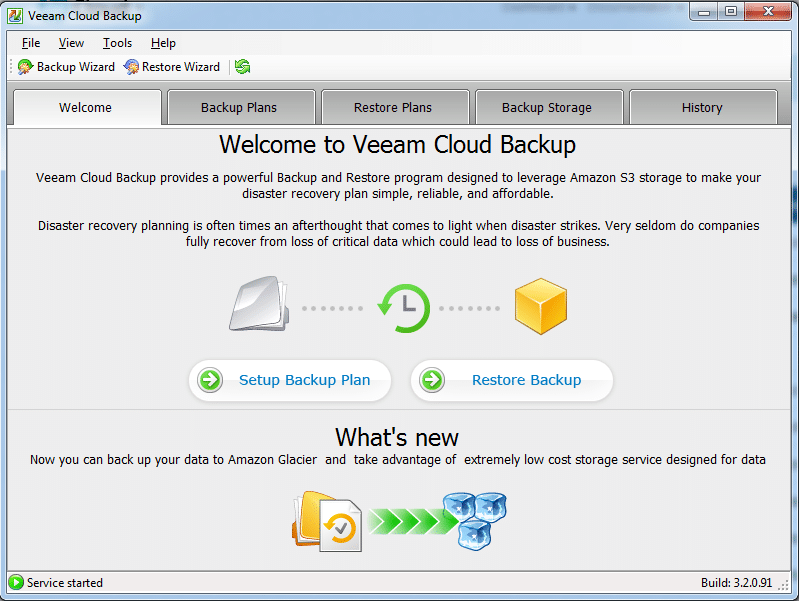
Here is the initial console when you open up Cloud Backup:
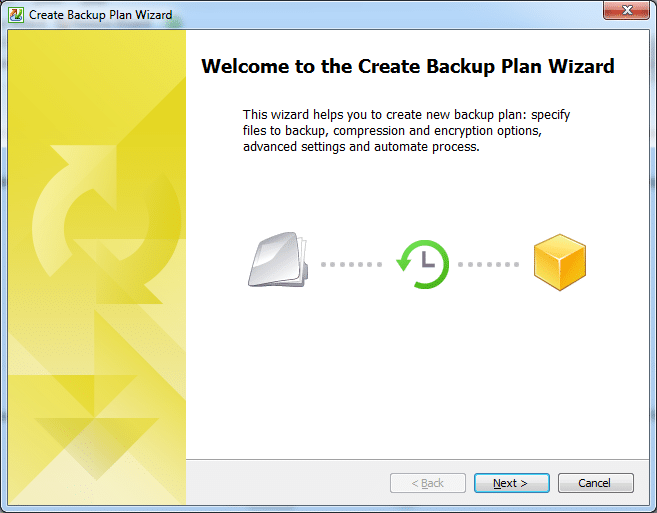
Lets setup a new backup plan using the wizard
For the example I will use a HP Cloud account.
Remember the closer the provider is to your physical location the better speed you can expect for your uploads – but more importantly when you need to restore you will be able to do it faster!
The Veeam knowledge base contains good information on setup of the various providers.
An example is this KB article for HP Cloud.
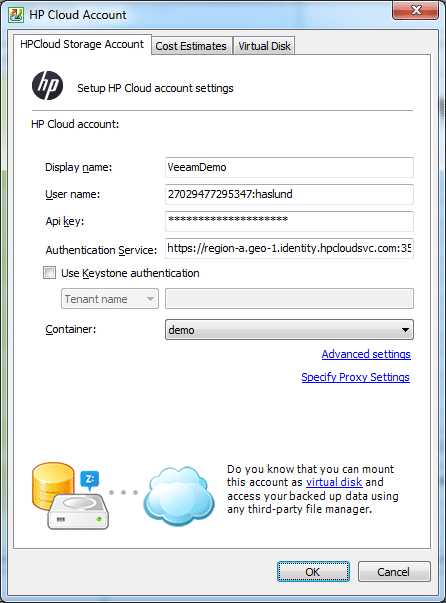
This part could definately use a tune up. For instance I find it extremely confusing Cloud Backup asks me for an API key (HP Cloud provides one) when what I should actually input is my HP Cloud accounts password. *RANT* If you want my password ask for the password 🙂 *RANT*
Clicking the tab Cost Estimates lets us input the pricing from HP Cloud website – $0.09 USD per GB.
You also have the opportunity to limit how much money you want to spend on cloud storage.
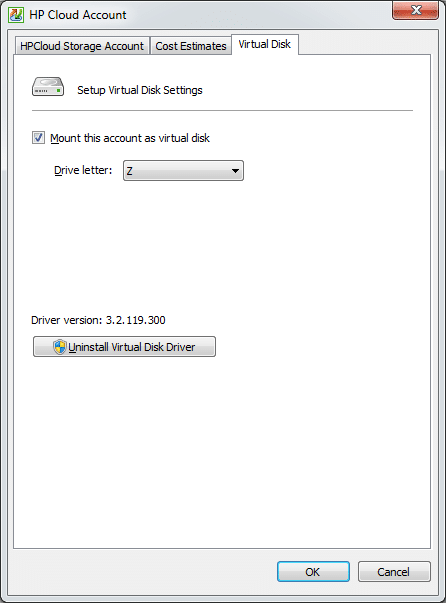
Next tab Virtual Disk gives you the ability to simply mount your storage as a local drive.
This means you could actually mount your cloud storage as a local drive, add this local drive as a new Veeam backup respository and then restore single files directly from that. Hopefully I will do a seperate blog post on this idea in the near future 🙂
Here is how the drive shows up in My Computer – nice and clean.
Remember though, that the virtual drive is read-only.
That is it for this time.
Next time I will setup the backup plan, start sending backups away and restore the data back again.
If you liked this please leave a comment 🙂
